Connect Outerbase to Neon
Connect Outerbase to your Neon project with the Neon Outerbase integration
Outerbase is an AI-powered interface for your database that allows you and your team to view, query, visualize, and edit your data using the power of AI. Outserbase supports both SQL and natural language. To learn more, see What is Outerbase?
Feature Coming Soon
The Outerbase integration is currently in private preview. To start using it, request access by contacting our Customer Success team and asking to join the Outerbase private preview.
Prerequisites
The setup described below assumes that you have a Neon account and project. If not, see Sign up for a Neon account. An Outerbase account is also required, but if you do not have one, you can set one up when adding the integration.
Add the Outerbase integration
To add the Outerbase integration to your Neon project:
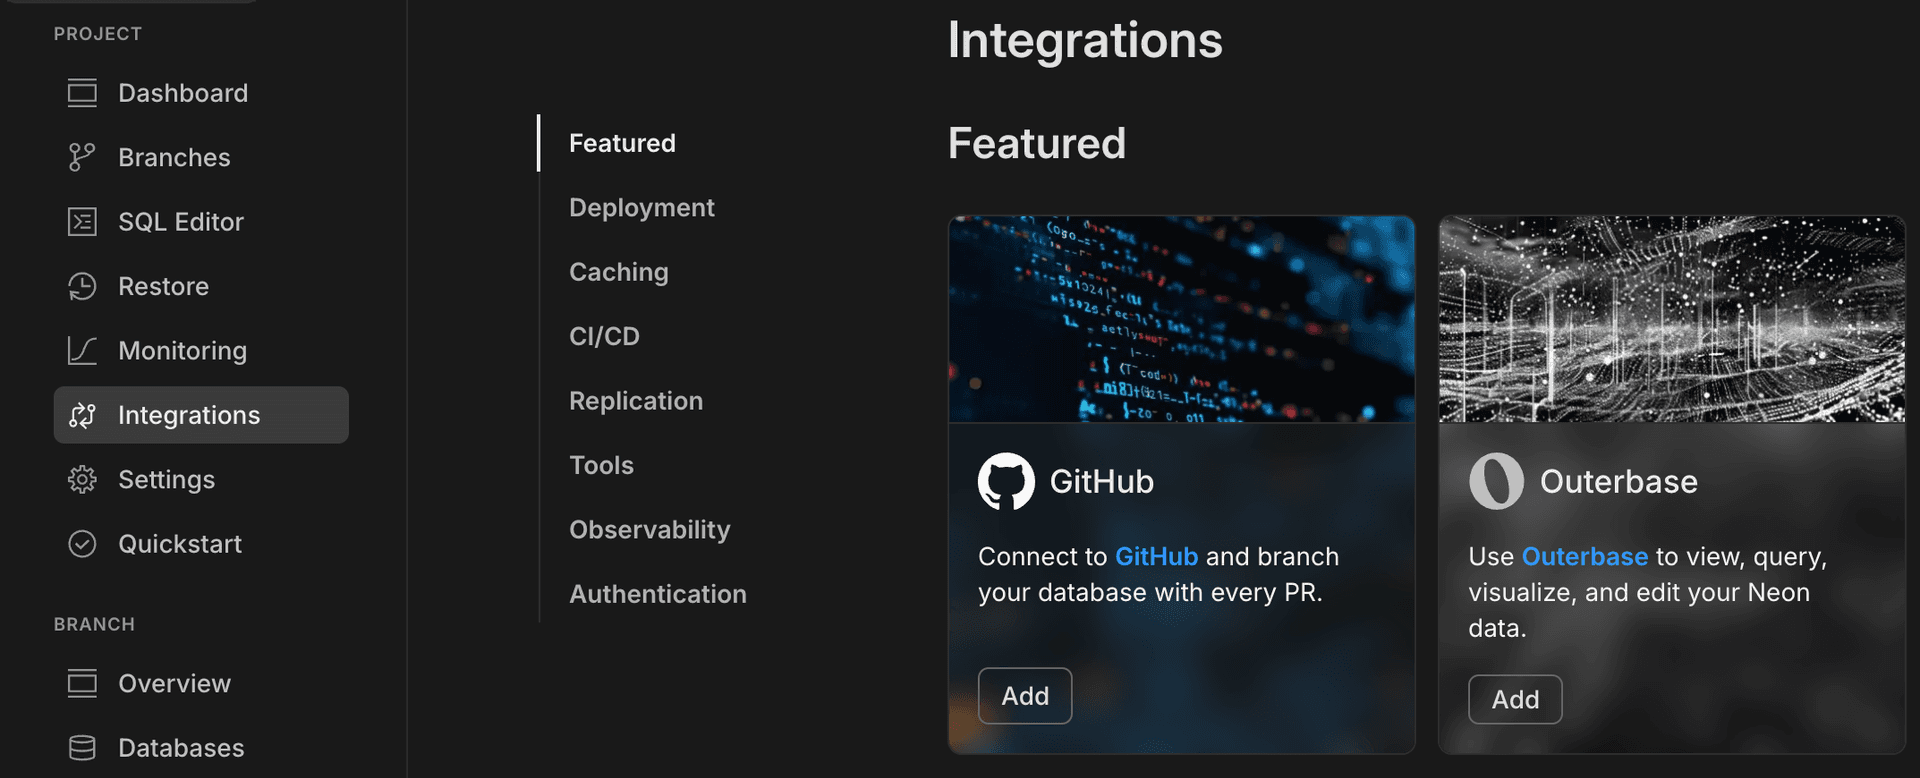
- In the Neon Console, navigate to the Integrations page for your project.
- Locate the Outerbase integration card and click Add Outerbase.

- On the Log in to Outerbase dialog, login with your Outerbase account or create an account if you do not have one. You can also sign in with a Google account.
- Step through the Outerbase onboarding pages by selecting from the provided options.
- When you reach the How would you like to get started page, select the Connect a database option.
- On the Create a base page, select Neon from the Connect to your cloud provider section of the page.
- You are directed to an Authorize Outerbase dialog. Click Authorize to give Outerbase permission to access your Neon account.
- You are directed to a Connect to your Neon database page. If you have more than one Neon project, select the project you want to connect to from the Select a database drop-down menu.
note
If you use Neon's IP Allow feature, be sure to copy the provided Outerbase IP addresses from this page and add them to your Neon IP allowlist. See Configure IP Allow for instructions. IP Allow is a Neon Scale plan feature.
- Select Connect to Database.
important
Wait for a moment for the connection to be established. The Connect to Database button will change to a Go to base button when the connection is available.
- Click Go to base to finish the setup.
You are taken to Outerbase's Get Started tour where you are guided through the basics of working with Outerbase. For information about the tour, see Get started with Outerbase.
For a conceptual overview of Outerbase, see Outerbase concepts.
Outerbase support
For Outerbase support and additional resources, refer to Outerbase Community & Support.
Remove the Outerbase integration
To remove the Outerbase integration:
- In the Neon Console, navigate to the Integrations page for your project.
- Locate the Outerbase integration and click Manage to open the Outerbase integration drawer.
- Click Disconnect.
- Click Remove integration to confirm your choice.
Feedback and future improvements
If you've got feature requests or feedback about what you'd like to see from Neon's Outerbase integration, let us know via the Feedback form in the Neon Console or our feedback channel on Discord.
Last updated on